
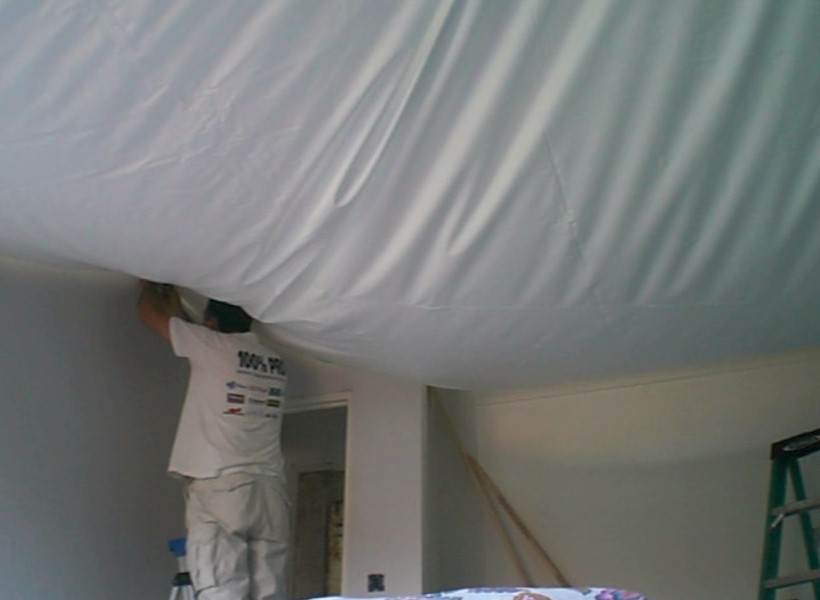
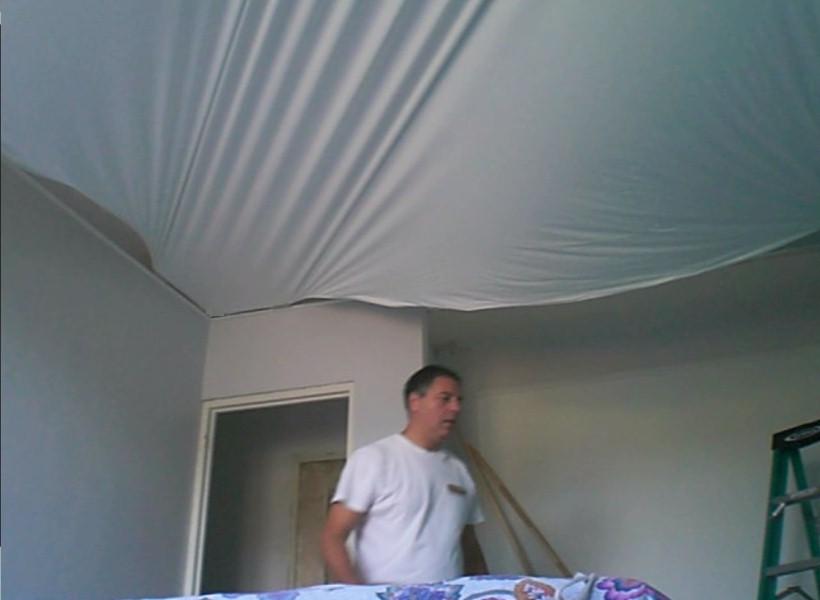
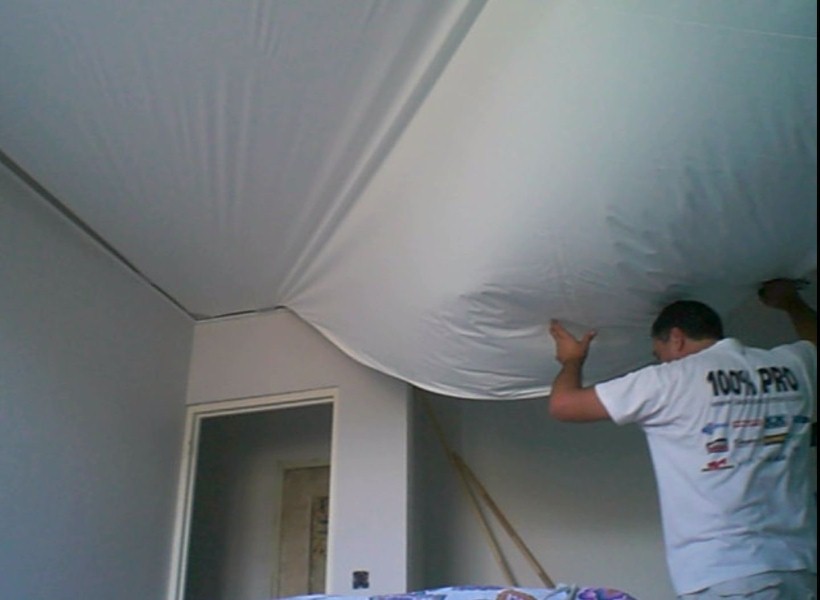
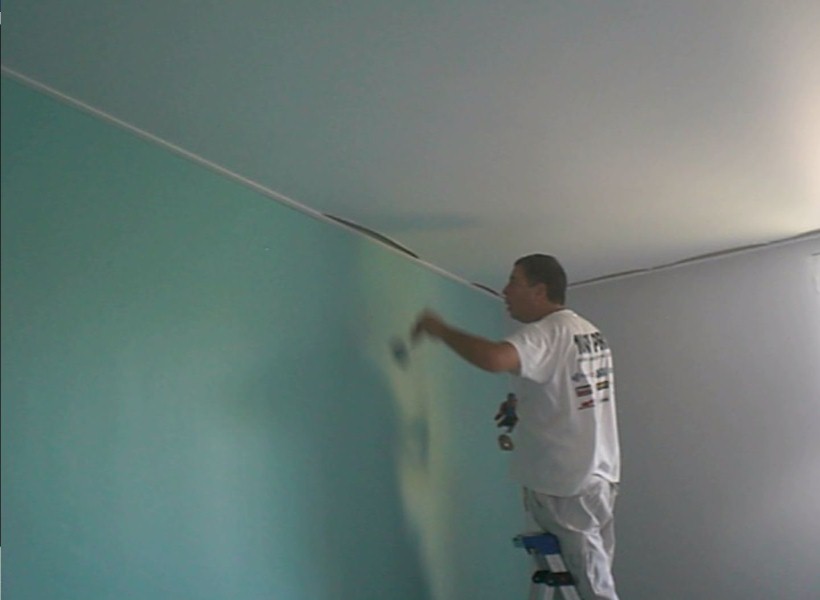
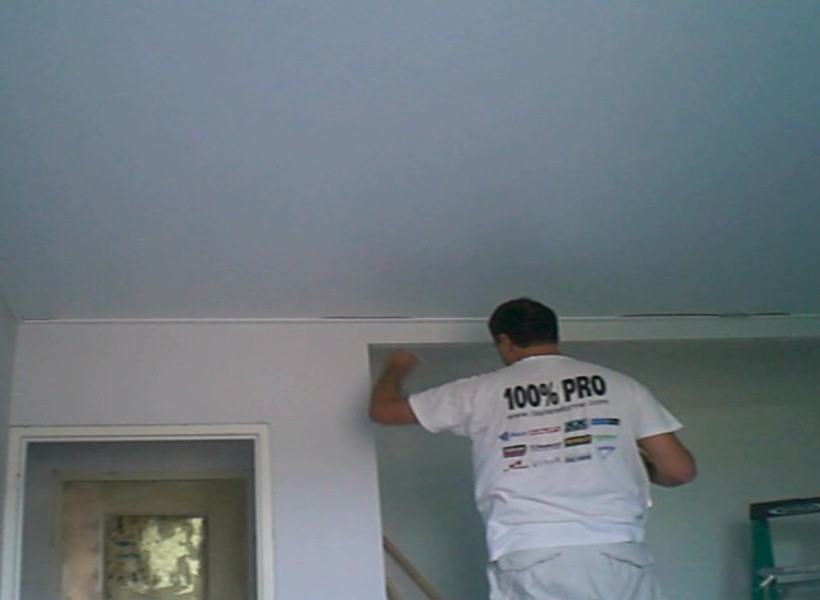
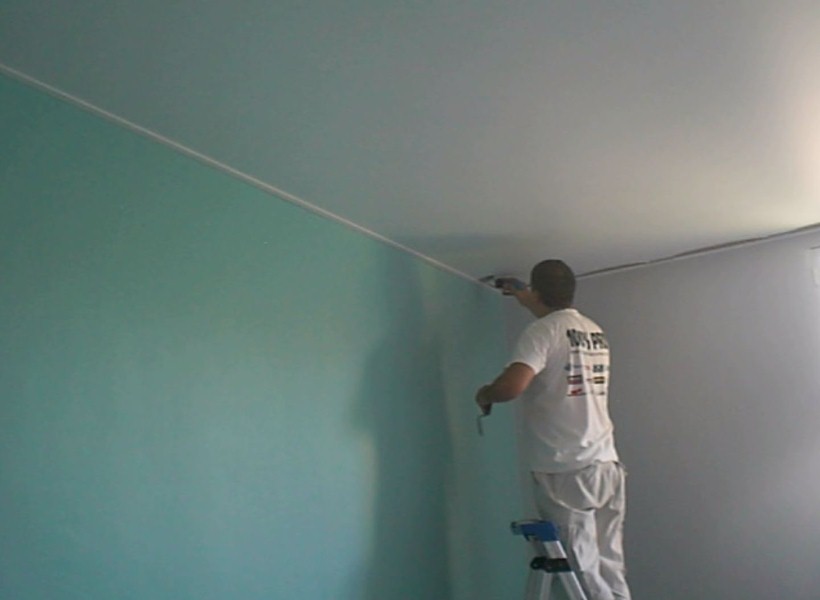
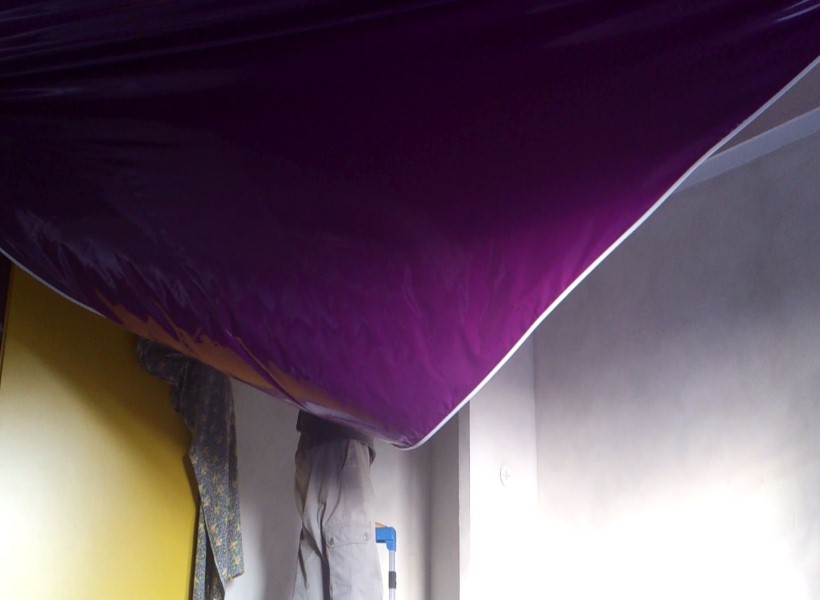
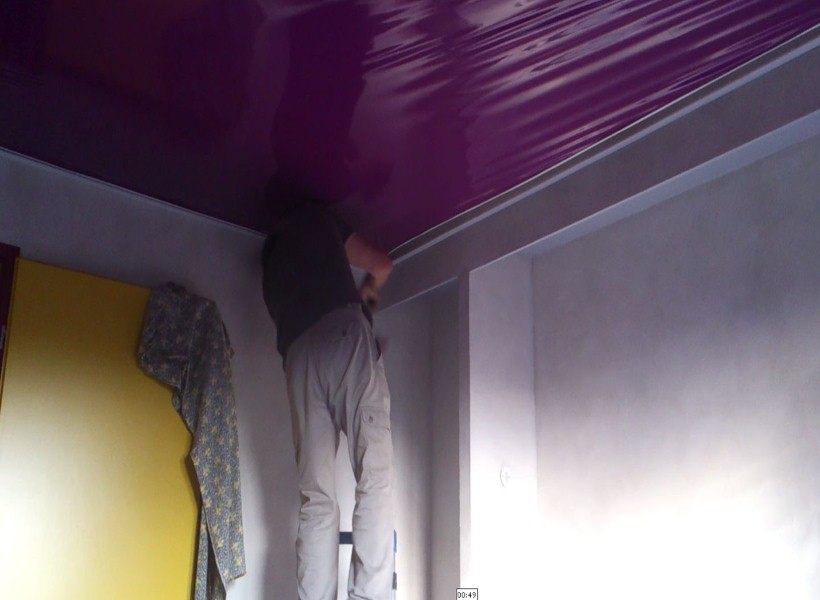
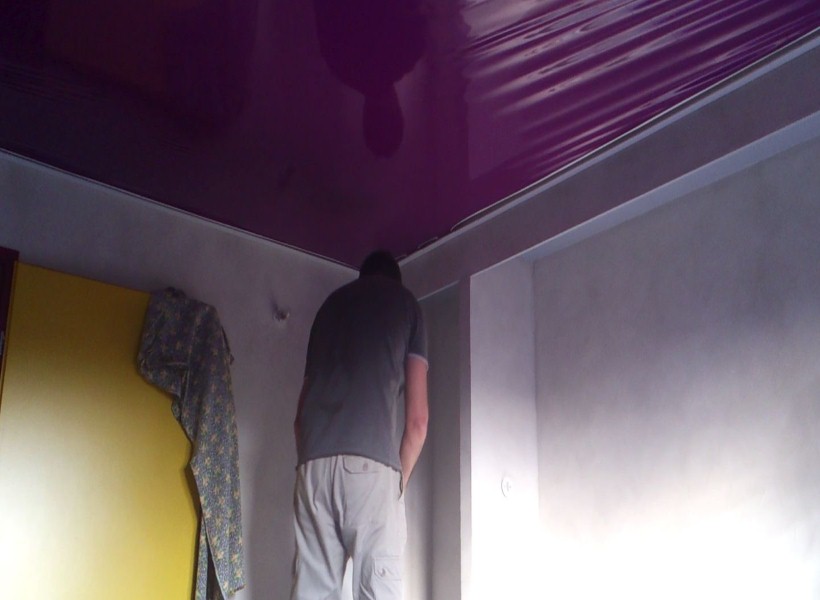
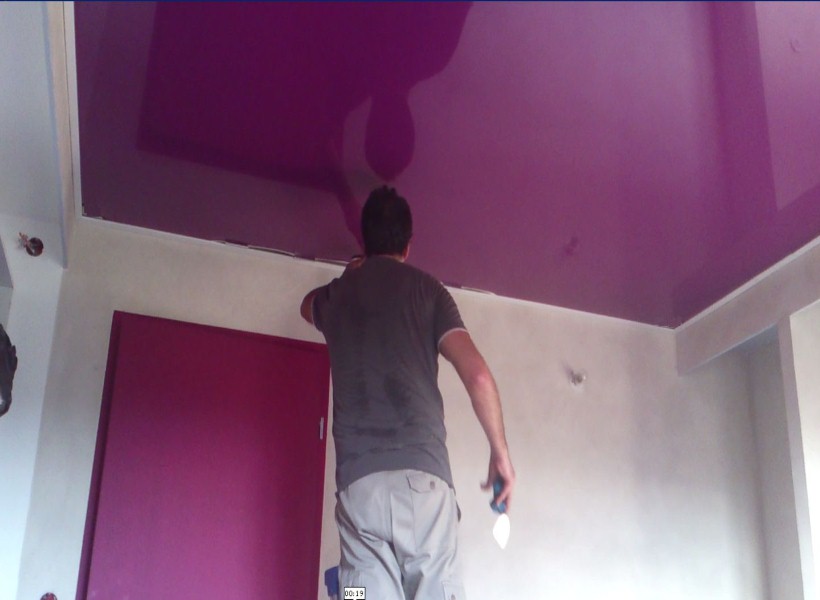
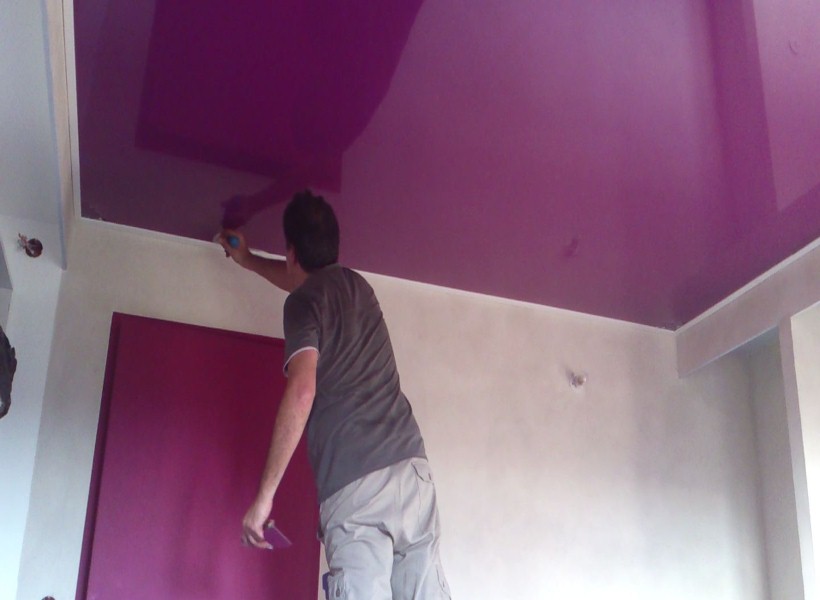
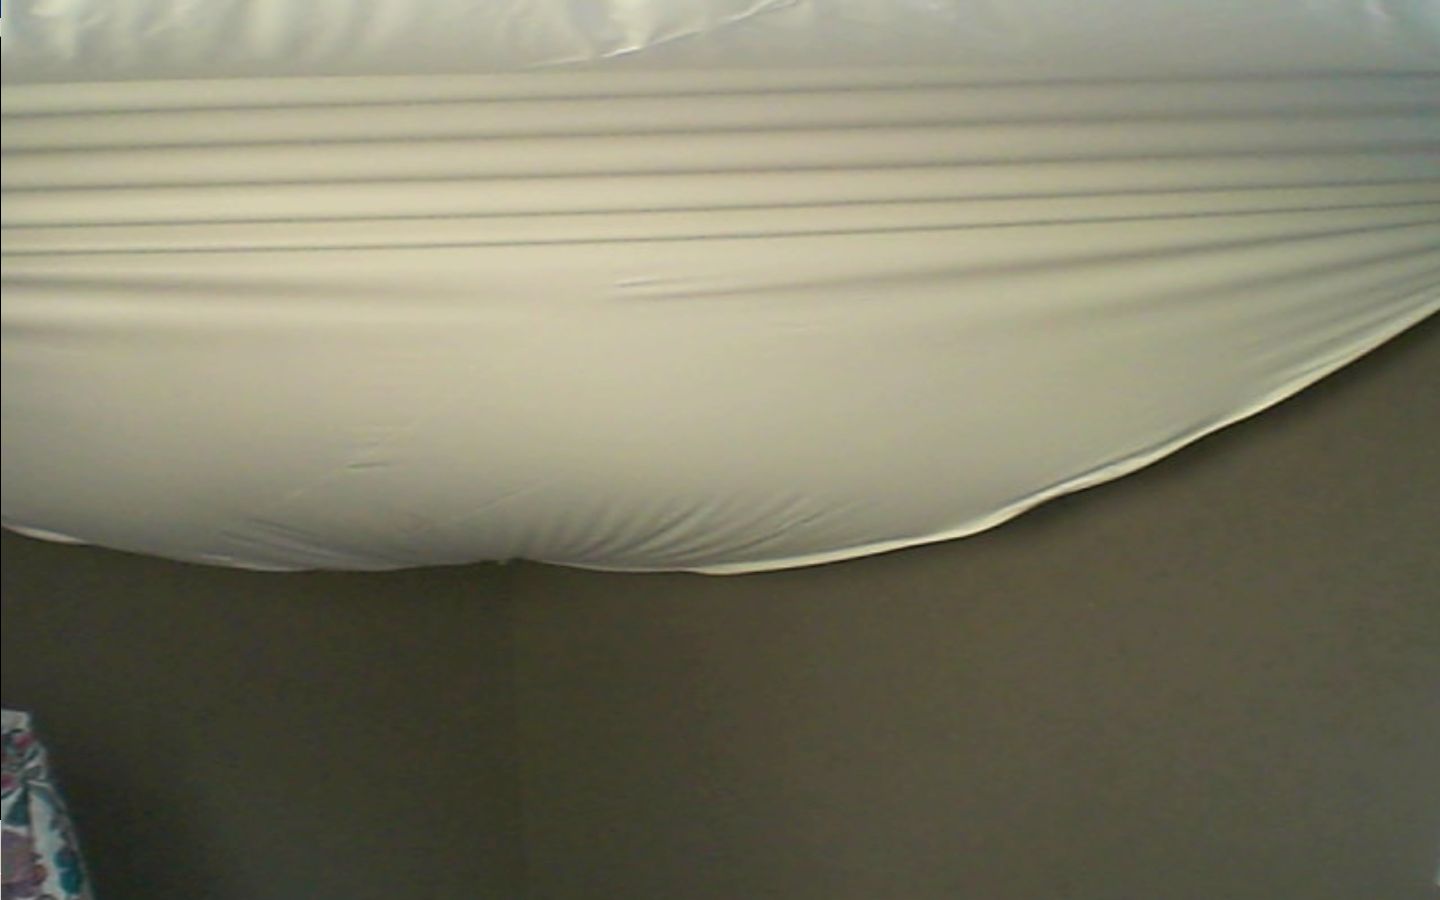
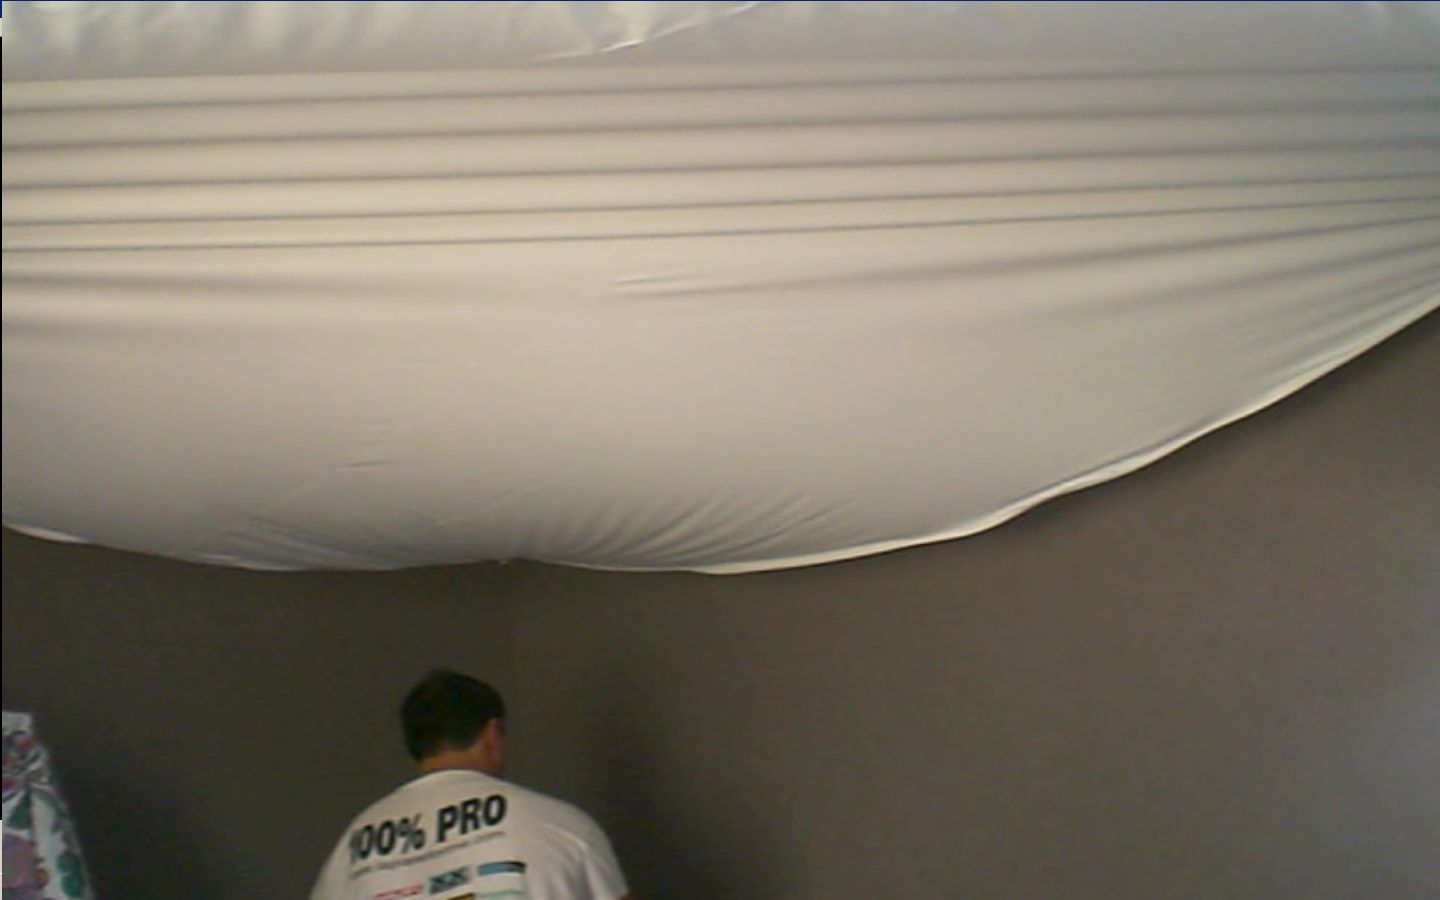
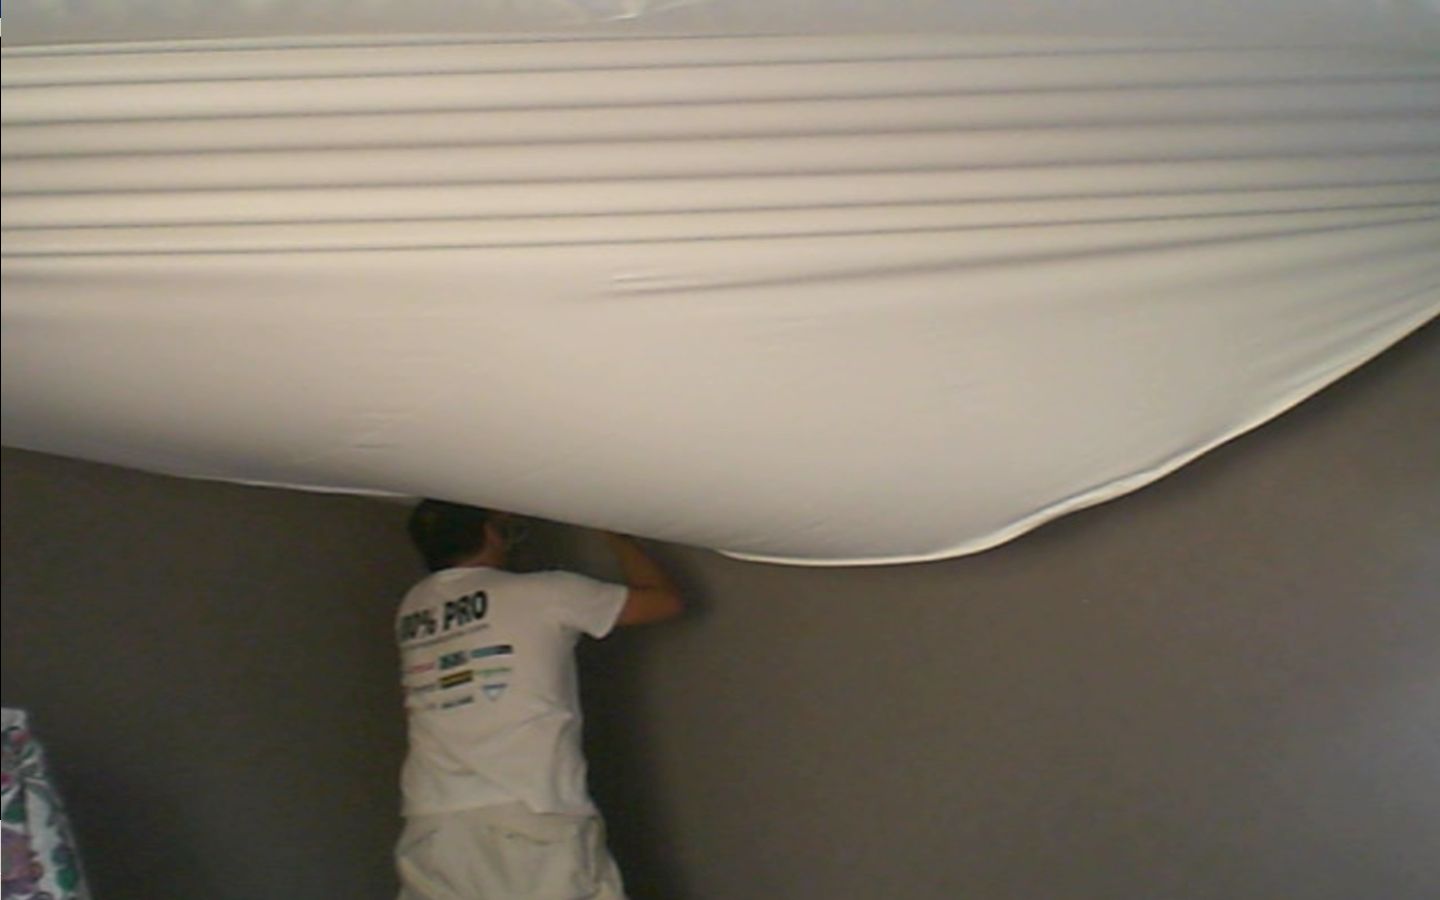
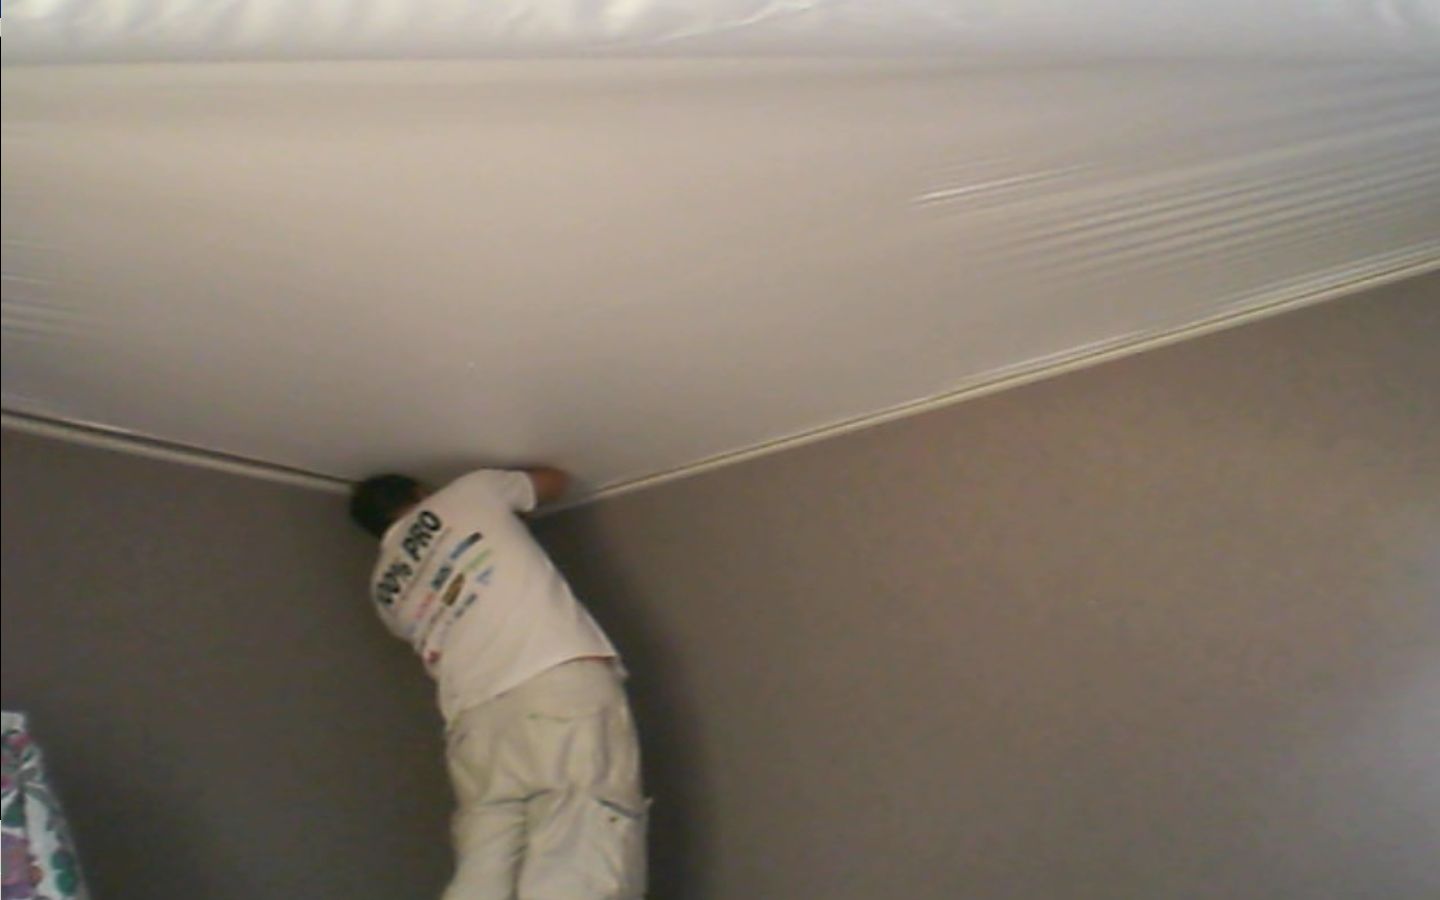
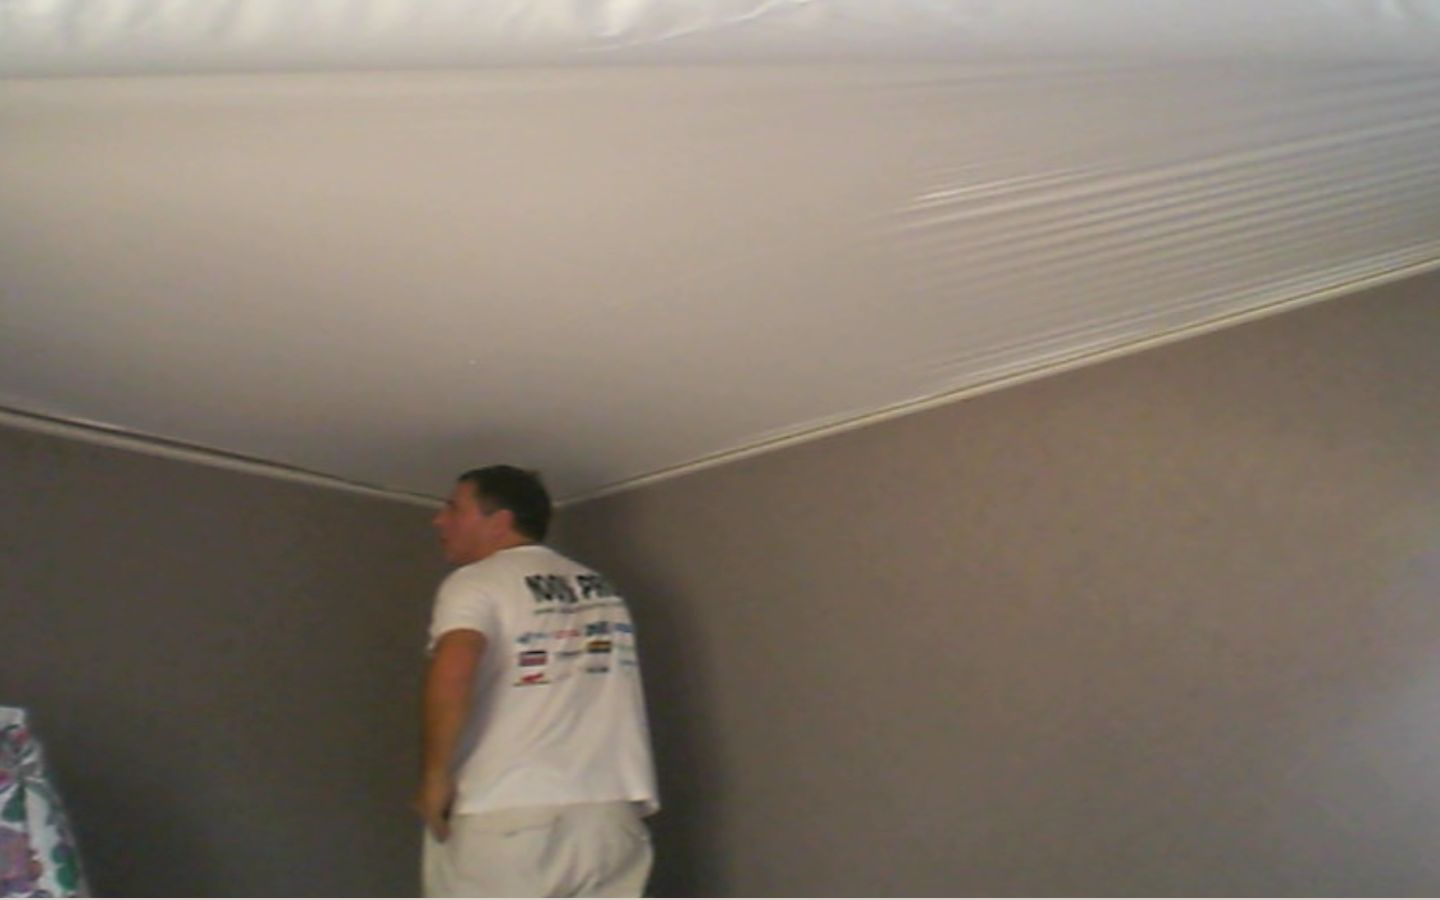
Stretching the membrane is the last part of the installation
of the stretch ceiling system.
Our New Visible molding track allow the membrane
to be removed at anytime for your convenience.
Stretch ceiling installation involves a multi-step process that combines precision, expertise, and careful handling to achieve a flawless, elegant finish. Here is a step-by-step explanation of the typical « OneStretchCeiling » installation procedure:
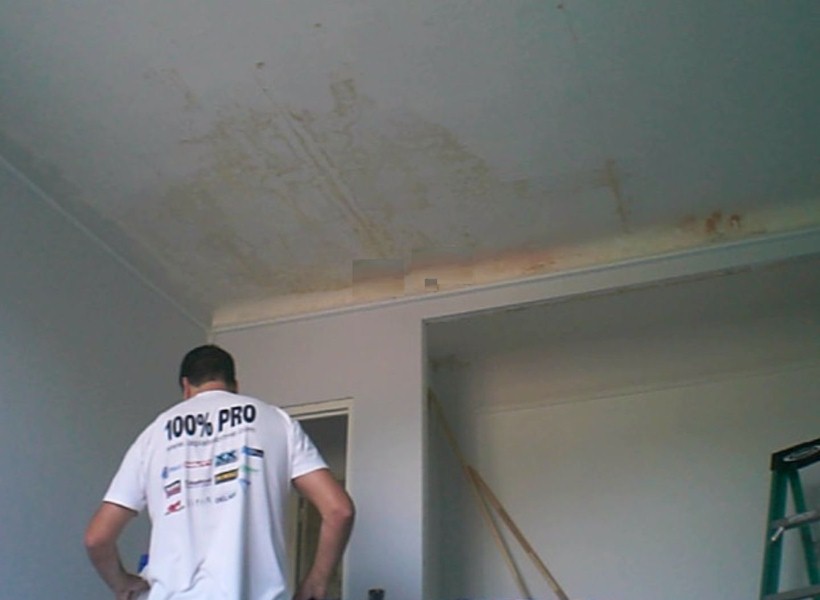
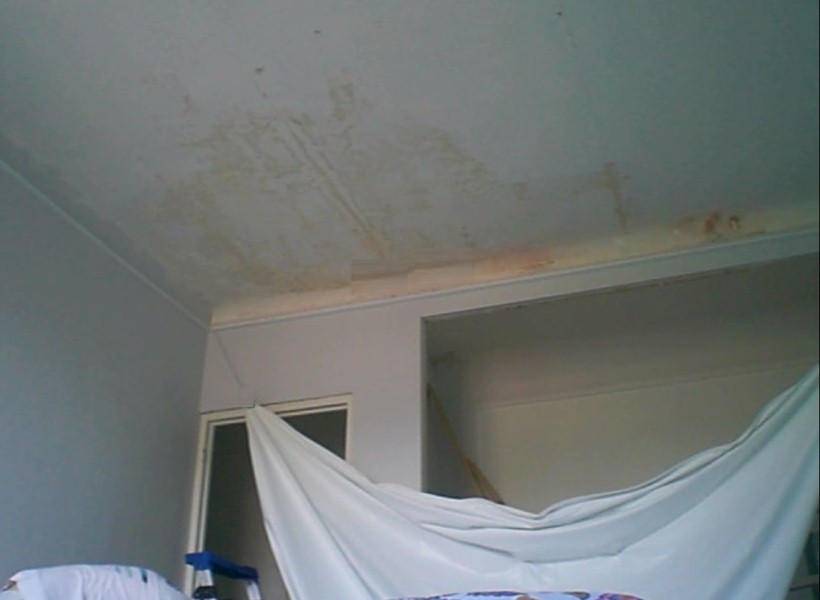
Preparation and Measurement: The process commences with accurate measurements of the ceiling area and assessment of the space’s characteristics. This includes « OneStretchCeiling » identifying obstructions, electrical fixtures, and any irregularities that may affect the installation.
Material Selection: Choose the type of stretch ceiling material that best suits your design vision and practical requirements. This may involve considering factors like color, texture, translucency, and acoustic properties.
Cutting and Fabrication: Based on the measurements taken, the stretch ceiling material is cut and fabricated to the exact dimensions of the ceiling space at the Factory in Europe. These precision-cut panels « OneStretchCeiling » are later affixed to a perimeter track.
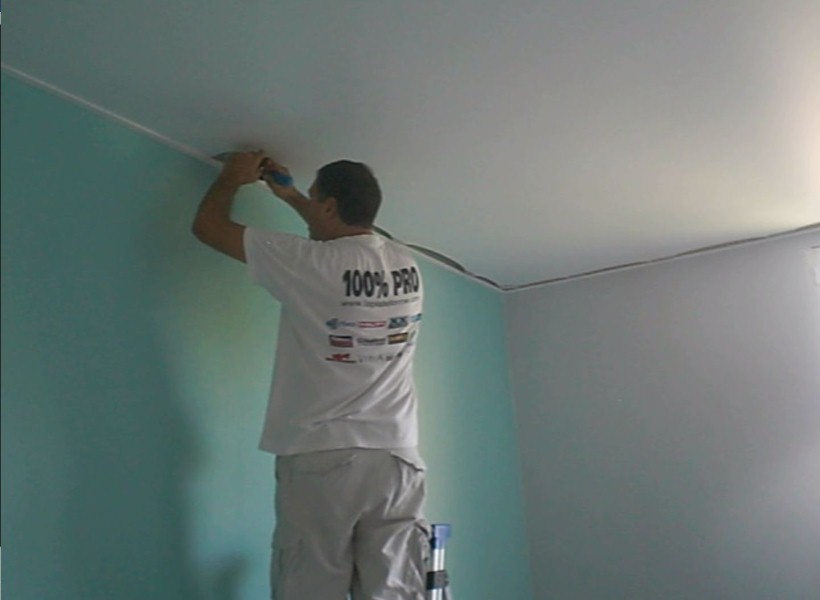
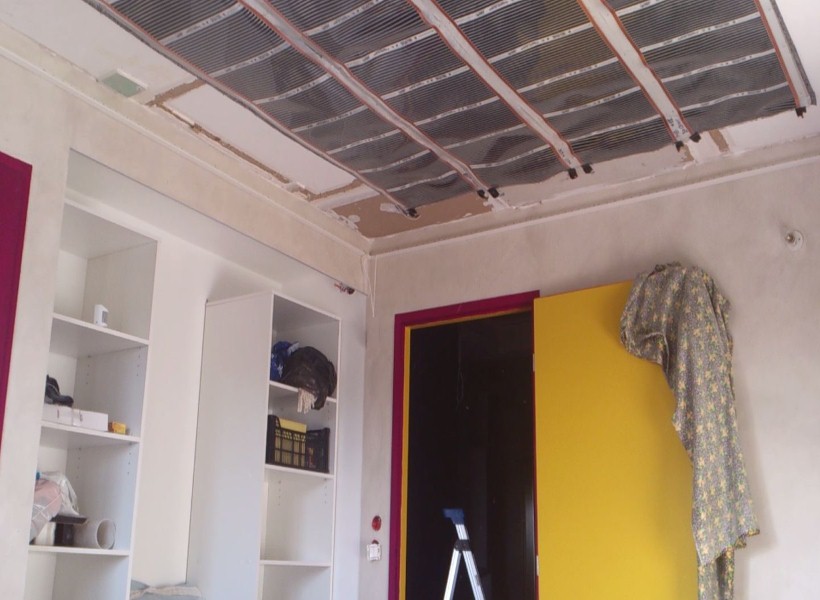
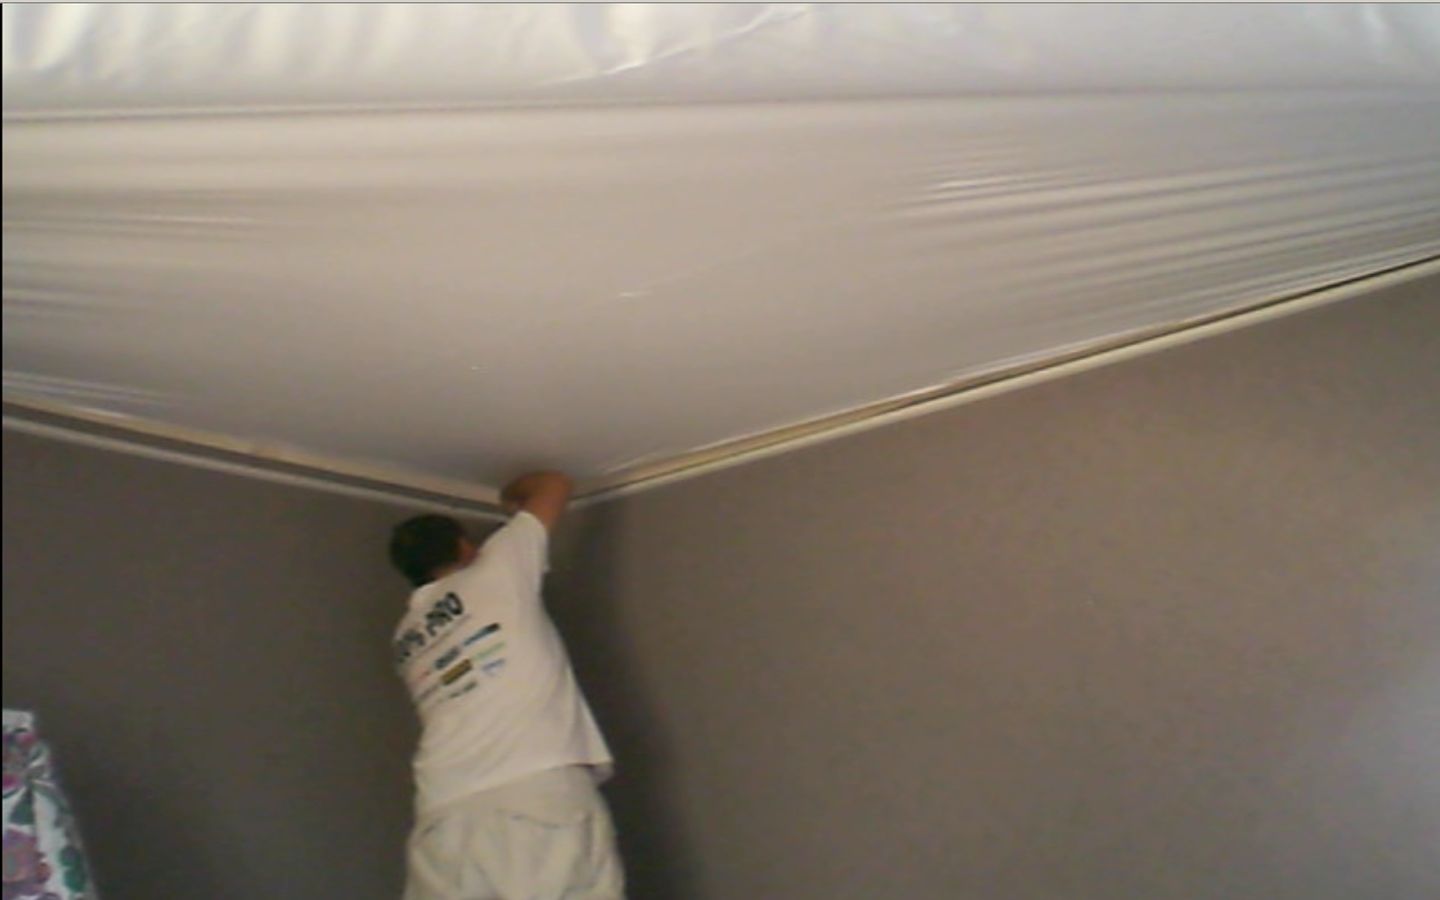
Perimeter Track Installation: A perimeter track is securely affixed to the walls, leaving a gap between the track and the original ceiling. This track will hold the edges of the stretch ceiling in place.
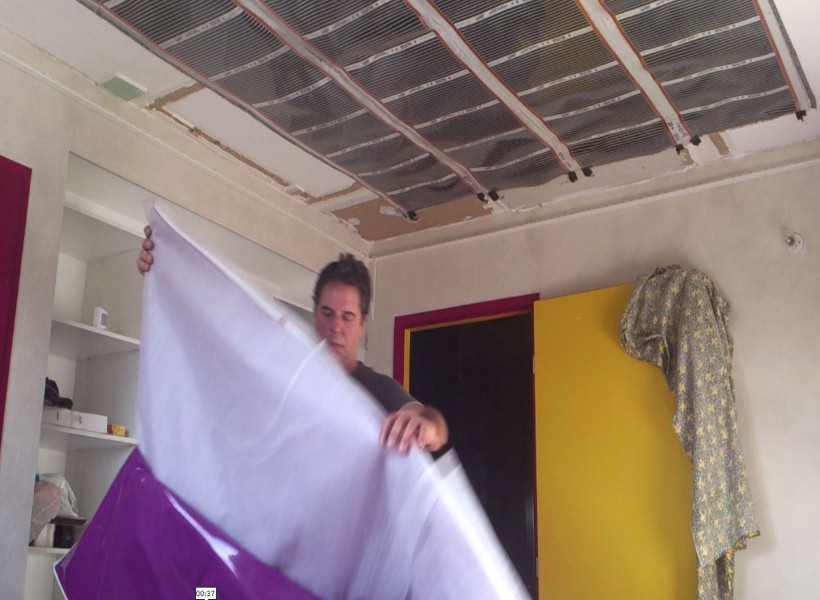
Heat Treatment: The stretch ceiling material is preheated using specialized equipment. This process increases the material’s flexibility, making it easier to manipulate during installation.
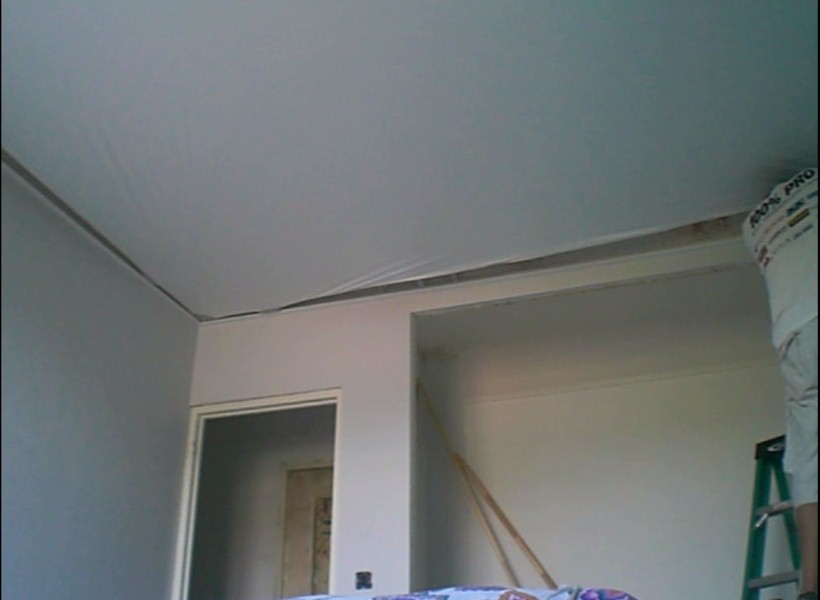
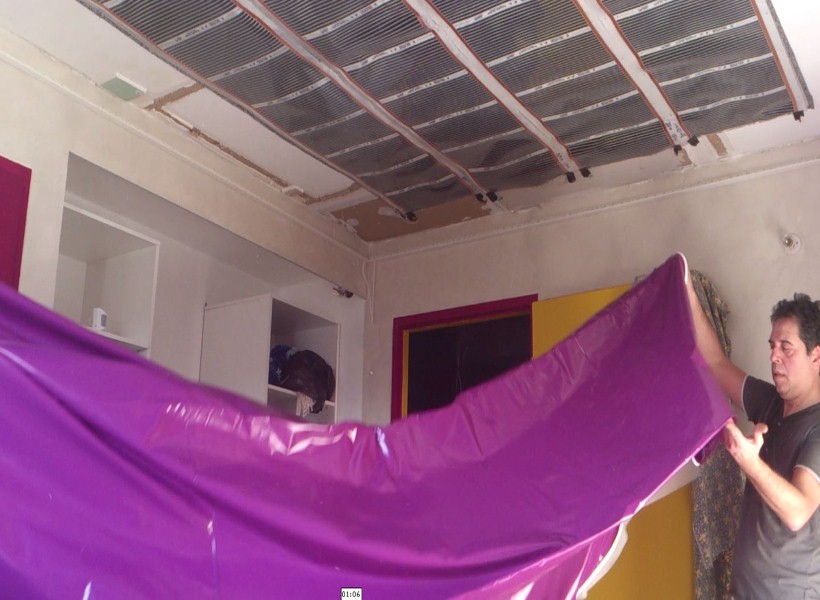
Installation of the Main Panel: The prepared stretch ceiling panel is gently inserted into the perimeter track. As the material cools, it tightens, creating a smooth and taut surface.
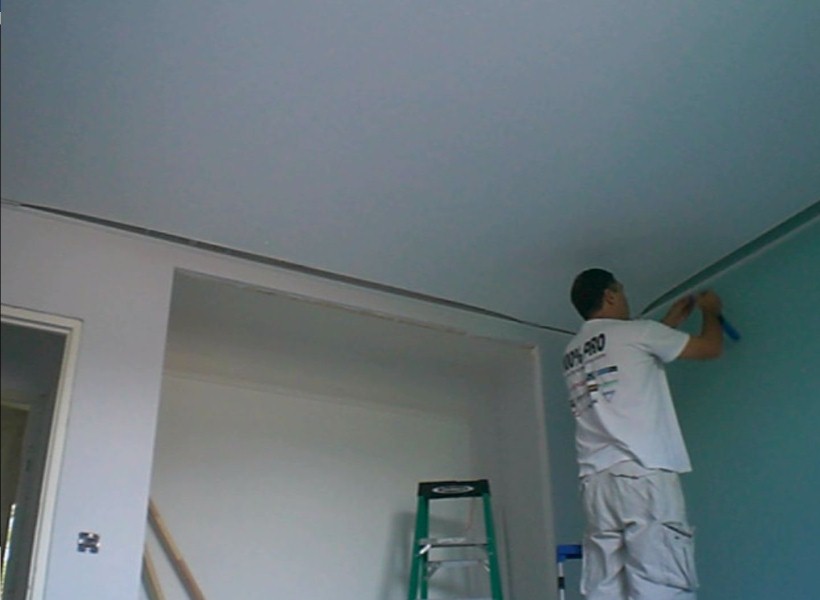
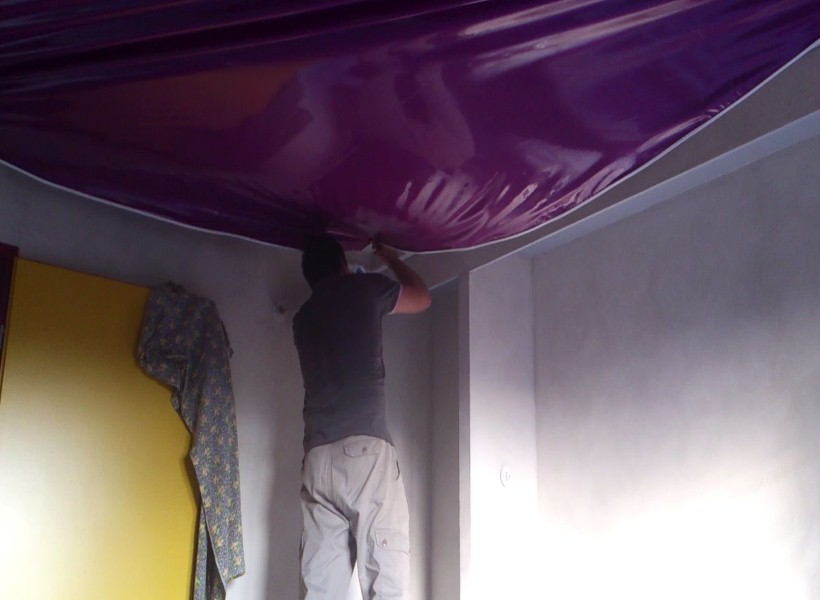
Corner and Detail Installation: Corners and intricate details are meticulously addressed. These areas require precise installation techniques to ensure a consistent and seamless appearance.
Light Fixture Integration: If desired, light fixtures, LED strips, or other accessories are integrated into the stretch ceiling. Proper techniques are employed to ensure secure attachment and seamless integration.
Final Adjustments: Once the membrane is in place, the stretch ceiling is reviewed for any imperfections or irregularities. Any minor adjustments required are meticulously addressed at this stage.
Finishing Touches: Our tracks come with NO gap between the perimeter track and the walls, providing a perfect look to the installation.
Stretch ceiling installation demands a combination of technical skill, creativity, and attention to detail. Engaging experienced professionals is crucial to achieving the desired outcome and transforming the space into an elegant, seamless masterpiece.
Stretch Ceiling Movie 1
Stretch Ceiling Movie 2

Stretch Ceiling Movie 3

Monday-Friday : 9:00am - 6:00pm
Saturday 9:00am - 2:00pm
ceilingmiami@gmail.com
Miami - Orlando - Jacksonville
Naples - Tampa - Gainesville
Call Today: 786.334.0392
Photo Credits: OneStretchCeiling